
DIY Gallery Wall: Easy Steps to Showcase Your Favorite Artwork
DIY Gallery Wall: Easy Steps to Showcase Your Favorite Artwork
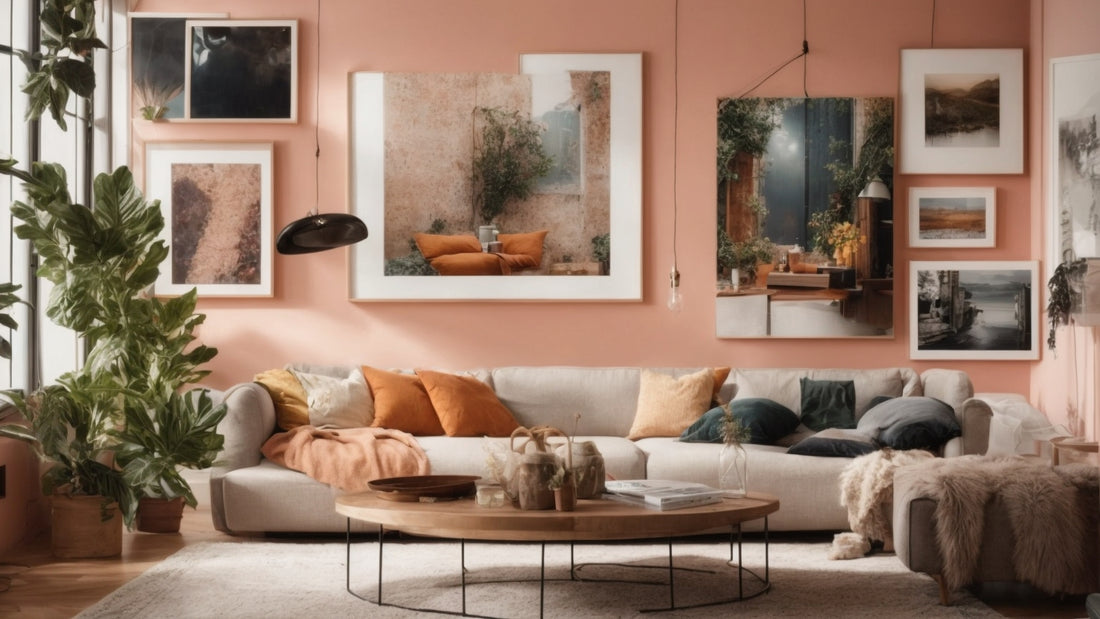
Creating a stunning gallery wall in your home is a fantastic way to showcase your favorite artwork and add a personal touch to your space. Whether you're an art enthusiast or simply want to display cherished family photos, a DIY gallery wall allows you to curate a collection that reflects your style and personality. Follow these easy steps to create your own gallery wall masterpiece.
Step 1: Plan and Prepare
The first step in creating a gallery wall is to plan and prepare. Start by selecting the wall where you want to display your artwork. Consider the available space, lighting conditions, and the overall aesthetic of the room. Take measurements and visualize how you want the gallery wall to look.
Next, gather your favorite artwork, photographs, and other decorative items that you want to include in your gallery wall. Mix and match different sizes, frames, and art mediums to create an interesting and dynamic display. Lay them out on the floor or a large table to experiment with different arrangements.
Consider the theme or concept you want to convey through your gallery wall. Are you aiming for a cohesive color palette or a mix of vibrant and contrasting elements? Think about how the artwork will interact with the room's existing decor and furniture.
Don't limit yourself to traditional artwork. You can incorporate other objects such as mirrors, clocks, or even textiles to add texture and variety to your gallery wall. These unique additions can make your gallery wall even more captivating and personalized.
Step 2: Choose the Right Frames
Choosing the right frames is crucial for a cohesive and visually appealing gallery wall. Opt for frames that complement your artwork and the overall style of your home. You can go for a uniform look with matching frames or mix and match different frame styles for an eclectic vibe.
Consider the material, color, and finish of the frames. Wood frames can add warmth, while metallic frames can bring a touch of modernity. Black or white frames offer a timeless and classic look. Remember, the frames should enhance the artwork and not overshadow it.
Another option to consider is using matting. Matting can provide a border between the frame and the artwork, adding depth and visual interest. Experiment with different mat colors to see what works best with your artwork.
If you want to create a more unconventional or bohemian vibe, you can even use vintage or repurposed frames. Explore flea markets or thrift stores to find unique frames that will add character and charm to your gallery wall.
Step 3: Arrange and Hang
Once you've finalized your artwork and frames, it's time to arrange and hang them on the wall. Start by tracing the frames on craft paper or newspaper and cutting them out. Use painter's tape to affix the paper cutouts to the wall, experimenting with different layouts until you find the perfect arrangement.
Remember to maintain balance and symmetry while creating your gallery wall. Aim for a visually pleasing composition by varying the sizes, shapes, and orientations of the frames. Leave enough space between each piece to allow the artwork to breathe and prevent the wall from looking overcrowded.
Consider creating a focal point by placing a larger or more eye-catching piece in the center of the arrangement. From there, build around it, gradually adding smaller pieces to create a harmonious flow. Step back and assess the overall balance and visual appeal before proceeding.
When you're satisfied with the layout, it's time to hang your artwork. Use a level and a tape measure to ensure that the frames are straight and evenly spaced. Consider using adhesive hooks or picture-hanging hardware for a secure and damage-free installation. If you're unsure about the weight of the frames, consult with a professional or use wall anchors for added support.
Step 4: Add Finishing Touches
Once your artwork is securely hung, add the finishing touches to complete your gallery wall. Consider incorporating additional elements such as decorative mirrors, wall sconces, or even small shelves to showcase three-dimensional objects or plants.
Experiment with different lighting options to highlight specific pieces or create a warm ambiance. Install adjustable spotlights or track lighting to bring attention to your favorite artworks and create a focal point within the gallery wall. Consider using LED lights to preserve the integrity of your artwork while adding a touch of drama.
You can also add personal touches such as handwritten labels or small descriptions next to each piece. This provides a deeper connection for viewers and allows them to appreciate the stories behind the artwork.
Consider incorporating a seating area near your gallery wall. A cozy chair or a small bench can create a dedicated space for you and your guests to admire the artwork and enjoy the ambiance.
Step 5: Maintain and Update
Maintaining your gallery wall is essential to keep it looking fresh and appealing. Regularly dust the frames and artwork to prevent buildup, and periodically check for any signs of damage or wear. Consider updating your gallery wall with new pieces of artwork or photographs to keep it evolving and reflecting your current interests.
Rotate the artwork periodically to prevent fading and ensure that each piece gets its deserved attention. Consider hosting an art swap night with friends where you can exchange artworks and refresh your collection.
Creating a DIY gallery wall is a fantastic way to showcase your favorite artwork and add a personal touch to your home. With careful planning, the right frames, and a well-thought-out arrangement, you can transform any wall into a stunning display of creativity and style. Let your gallery wall become a conversation starter and a reflection of your unique taste and personality.
Remember, there are no strict rules when it comes to creating a gallery wall. Trust your instincts, have fun with the process, and let your creativity shine.