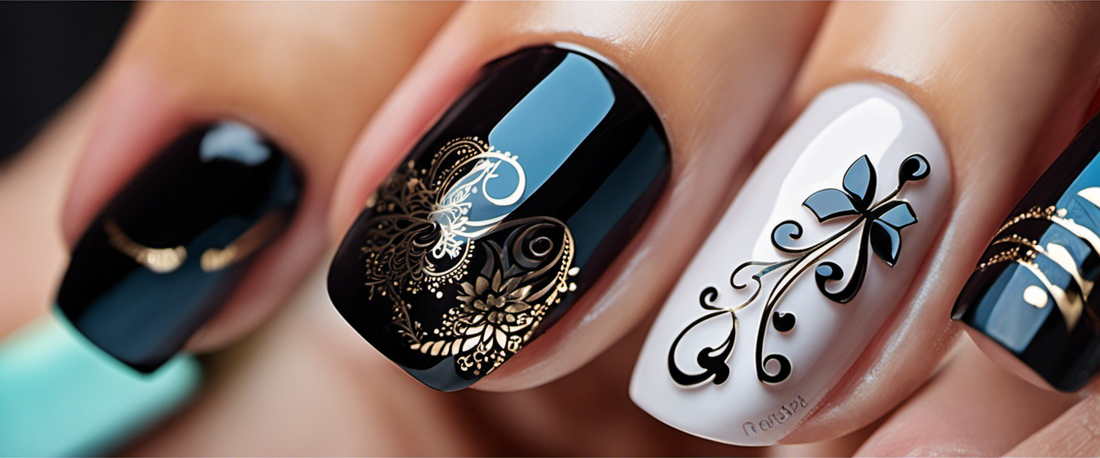
Black Nail Art at Home: DIY Techniques and Tips

Welcome to the Bold and Beautiful World of Black Nail Art!
If you are looking to make a strong style statement, look no further than black nail art. It is chic, versatile, and can elevate your fashion quotient in an instant. This guide will walk you through the process of creating stunning black nail designs right at home!
Achieving the Perfect Base: Preparing Your Nails for Black Nail Art
Before we dive into creating captivating designs, let's talk about how to prep your nails properly. A good base ensures that your nail art looks smooth and lasts longer.
- Clean up: Begin by removing any old polish from your nails using a gentle remover.
- Shape them: Next, shape your nails according to preference - square or round - using a fine-grit file.
- Treat cuticles: Push back your cuticles gently with an orangewood stick. Never cut them as it can lead to infections.
- Buff it out: Buffing helps in getting rid of ridges on the nail surface for a smoother finish.
Exploring Design Ideas: Creative and Trendy Black Nail Art Inspirations
The great thing about black is its versatility; it pairs well with almost any color or design element. Here are some trendy ideas that you can try at home:
- Metallic stripes:Add some glitz with gold or silver stripes over black polish. You'll need striping tape for this one!
- Gothic vibes:Create gothic-inspired designs like skulls or bats using white polish over a black base- perfect for Halloween!
- Matte and glossy:A mix of matte and glossy black polish can create a visually interesting contrast on your nails.
Mastering Application Techniques: Step-by-Step Guide to Painting Black Nail Art
Now that you have your designs ready, let's get painting. Here are the steps:
- Base Coat:This will protect your natural nail from staining and help the polish stick better.
- Black Polish:The key here is to apply thin, even layers of polish. Wait for each layer to dry before applying the next one.
- Nail Art Designs:This step depends on the design you chose. Use a thin brush or dotting tool for intricate designs. Practice makes perfect!
- Top Coat:Last but not least, seal in your design with a good quality top coat. This will add shine and prevent chipping.
Long-lasting and Flawless: Tips for Maintaining and Removing Black Nail Art
To keep your black nail art looking fresh as long as possible, follow these tips:
- Maintenance:You can reapply topcoat every couple of days to prevent chipping or dullness.
- Avoid damage :Avoid using your nails as tools! This can cause breakage or chip off the nail art prematurely. For removal, use an acetone-free remover so it doesn't dry out your nails. In conclusion, creating stunning black nail art at home is not as daunting as it seems! All you need are some basic supplies and a little bit of practice. Happy painting!
